
Pinterest Reference Images for AI Videos: A Safe Workflow and Prompt
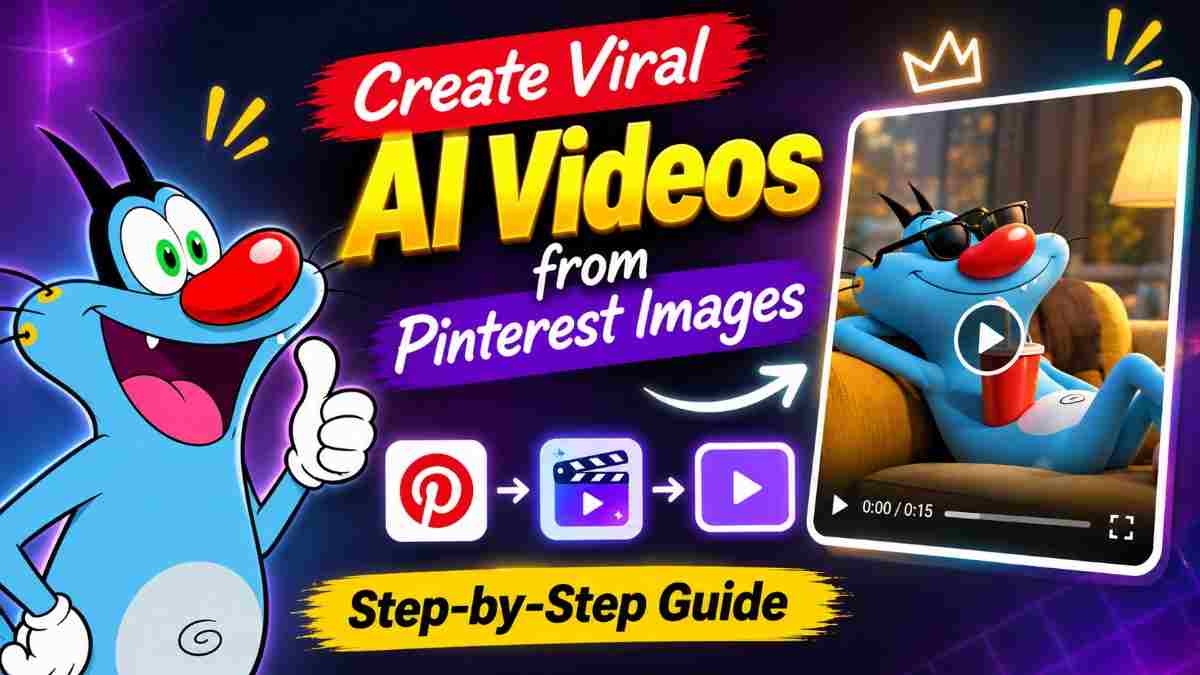
However, using this image will cause issues. Firstly, you aren’t allowed to use images from others and secondly, your video will likely be similar to thousands of others. In this guide I will explain how to use Pinterest as a mood board, create your own image and animate.
This guide will show you how to create an image to video AI video. As tools are always changing, please check the latest features available.
Why shouldn’t I animate the Pinterest image?
Ownership – Most images on Pinterest are owned by Photographers, Artists or Brands. Therefor you won’t have the right to animate and upload them, especially on a monetised account.
People – If there is a person in the image, animating will cause you to create a video using someone who hasn’t agreed to it.
Originality – Pages created from copied images will be seen as low value content by content reviewers. Creating your own idea will benefit your audience and account.
Please check the terms of Pinterest, your AI tool and the platform you are publishing to.
The Best Way To Create An AI Video From Pinterest!
-
Find 5-10 images that fit the style you want from Pinterest and save them for your personal use.
-
Write down notes about what you like. Light, colours, camera, background and overall mood.
-
Create your own base image, this can be:
A photo of yourself or something you own.
An image generated from text you have written.
A stock image with the right licence.
- Animate your image using an image to video tool with this prompt.
You will now have an original video based on your Pinterest board.
You Will Need
Pinterest account (or any mood board).
Base image you have rights to.
AI video tool that offers image to video creation. Google Flow or others.
Basic video editing tool.
Step 1: Create A Mood Board With A Focus
Search for a single style on Pinterest. For example, cinematic portraiture lighting, moody street photography or luxury product photography. Save to a private board.
Note one line down for each image.
Lighting – Warm lighting on the left with soft shadows.
Colours – Teal shadows with orange highlights.
Camera – Low angle with shallow depth of field.
Movement – Slow zoom in with hair moving in the breeze.
Pick images that will have movement. Ensure there is a clear subject and some depth in the background.
Step 2: Create Your Own Base Image
Take or create your image. Describe your styling from your notes in your own words. This will create a new image with the same mood.
If your image includes a face, ensure it is just your face or an adult that has clearly agreed.
Step 3: Open Your Image To Video Tool
Open up your preferred image to video tool. All tools such as Google Flow will have the same concept. Upload your image, describe the motion, pick your format and generate. The menu names will be different so search for your image to video or start from an image option.
Step 4:
Prompt
✨ AI PromptFirst-person POV, beginning inside a parked car with the door fully closed. A hand reaches for the interior door handle, grips it naturally, and pulls to release the latch before pushing the door outward. The door swings smoothly on its fixed hinges in one physically accurate arc. Preserve the door’s rigid shape, window, handle, and connection to the car throughout—no bending, warping, flickering, duplicated parts, or detached hinges. The hand stays in believable contact while pushing, then releases naturally. **The camera stays inside the car until the door is fully open and there is enough clearance to exit.** The door remains open and stable as the camera passes through the actual doorway, never through the door panel, glass, or car body. The camera dips gently as the person steps down onto a countryside dirt road bordered by grass. Continue in one uninterrupted take, moving forward with gentle walking motion toward the provided 2D reference character standing in the reference environment. Preserve the character’s exact design, facial features, proportions, clothing, colors, and flat 2D illustration style. Do not transform the character into a realistic person or a 3D model. Faithfully preserve the reference background’s sky, landscape, objects, and spatial relationships, allowing only perspective changes caused by the moving camera. Maintain a surreal, dreamy atmosphere, soft ambient lighting, and rich, warm tones inspired directly by the reference. End facing the character at a comfortable conversational distance. No cuts, hidden transitions, sudden camera jumps, extra fingers, intersecting geometry, or added characters. Prioritize a clean, physically coherent door-opening and exit sequence.
Step 5: Generate
Generate your clip and check:
Face – Is the face the same?
Hands – Are the hands stable?
Flicker – Is there any flicker?
Natural – Does it look natural?
If not, change one line of your prompt.
Step 6: Edit And Publish
Edit your video:
Cut the first and last frame if they look unstable.
Add music you have rights to.
Add short captions.
Check the first 2 seconds of your video. This is what people will see first.
Export your video in 9:16 for Reels/Shorts.
When publishing your video, mention it is an AI generated video. Ensure you follow the platforms rules for AI content.
Choosing Your Best Tool
I haven’t ranked the tools in this guide as they are always changing. To choose the best one for you:
Use the same base image and prompt.
Compare the face, quality of movement and any flicker.
Check the output limits and price on your plan.
Choose the one that gives you the best results for your type of content.
Common Mistakes
Using an image that isn’t your own. Instead recreate the idea using your own image.
Too many instructions. Keeping it simple with one movement and one camera movement works best.
Low quality base image. If your image is blurry your video will be.
Not checking your video. Always check for faces, hands and flicker.
Not focusing on the first few seconds. People will decide quickly so make sure the first few seconds are good.
My Experience
When I first started I would use Pinterest images straight away. The video would look good but I would feel uncomfortable publishing as it wasn’t mine. Now I use Pinterest for the styling, create my own base image and animate. This makes me feel like my videos are more original and I don’t worry about ownership.
The biggest thing that helped me was making short notes on each image I saved. This included lighting, colours and camera. This became the lines in my prompt. The other thing was keeping it simple with one movement and one camera movement. Asking for multiple things would cause the face to change or movement to look stiff.
I also compare the same image and prompt with multiple tools.
FAQs
Can I use Pinterest images to create AI videos?
Pinterest can be used as an inspiration. Do not animate and publish someone elses image. Create your own base image using your notes.
Is it okay to animate a celebrity/photo of someone?
No. Avoid using someone elses likeness without clear permission.
Which AI tools can create videos from images?
Google Flow and a few others. Features, limits and price will always change.
Do I need to know how to edit?
No. Just basic editing to cut, add captions and music.
Will my AI video go viral?
No one can guarantee this. Your concept, hook, quality and consistency will play a role.
Why is my face changing?
Often due to a low quality base image, too many instructions or a strong movement. Keep it simple and use a clearer image.
What size should my video be?
Usually 9:16 for Reels/Shorts.
Conclusion
Pinterest is a great resource for ideas but a bad source for footage. To create your own video create a mood board, create your own base image and keep your prompts simple with one movement and one camera movement. Always check your results before publishing. This will give you an original video that is worth watching.
Written by Dinesh, Full Stack Developer and Content Creator. Testing AI image and video prompts.
Continue Reading
Recommended Stories
How to Avoid Faces Changing in AI Photos
Learn how to use ChatGPT Custom Instructions to help keep your face, hairstyle, and skin tone consistent in AI-generated photos. Follow this simple step-by-step guide, paste a face-lock prompt, and create more consistent AI portraits using your own image.
How to Create a Netflix-Style Poster Using ChatGPT
How to Turn a Selfie Into a One-Page Report With ChatGPT
Full ChatGPT prompt to turn a selfie into an AI face analysis infographic, with honest notes on what the scores mean and privacy tips.